At last, I am ready to give you a step-by-step tutorial on how to fasten squared off logs together the old-fashioned way. This method is very simple, yet extremely reliable and very strong. Our church building that we are attaching our new addition on to is 96 years old. It was constructed from squared off logs held together by pegs, just as our new addition is. I think that this proves the reliability of this particular system, especially when you take into account the severity of our weather here in Khabarovsk, and the fact that our land heaves due to the thaw-freeze factor which can tear a poorly constructed house to pieces.
Ok, here’s how it works. First, you need to fashion wooden pegs that correspond to the size of the drill bit that you’ll be using. Our drill bit is 32 mm in diameter so we made the pegs slightly larger to ensure a tight fit. You don’t want loose pegs! We used 2×4 boards cut to length for our peg material, and then fashioned the octagonal shaped pegs from these boards on a lathe. Naturally, the length of pegs should be an inch or so less than the total depth of two of your logs since you’ll be drilling down through both of them and the peg will join the two together.
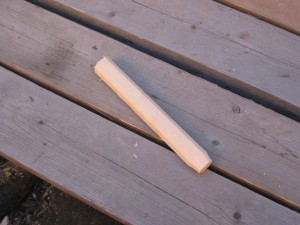
This is a sample peg.
After your pegs are cut and ready, then you can basically start laying your logs, which I won’t go into detail about here. Once you have your first layer of logs laid, then you need to attach the second layer to the first with the pegs, which requires drilling. From here, you need to drill holes at regular intervals which penetrate the top log and sink deep down into the log underneath.

Valera drilling through top log
After you have drilled through both the top and bottom log, then the next step is to simply place the peg down into the hole and drive it in till it is completely flush with the surface of the top log. After you have done this, make sure you use a large metal punch to drive the peg’s head below the surface of the top log.

Me driving a peg into place with a small sledge
And there you have it, that’s pretty much it. It’s simple, yet effective. By the way, the pink stuff peeking out from between the logs is insulation that is laid down between each layer of logs to make sure everything is warm and wind-proof.


